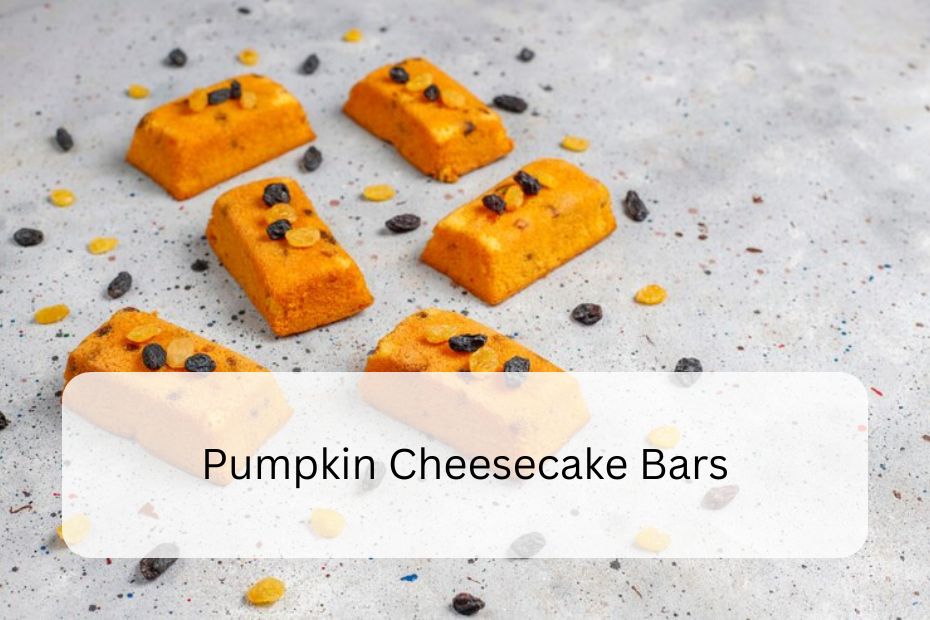
Pumpkin Cheesecake Bars are a delightful combination of creamy cheesecake and spicy pumpkin pie, making them a perfect treat for any occasion, especially during the fall and holiday seasons.
These bars offer a harmonious blend of textures and flavors, with a smooth and rich cheesecake layer atop a buttery, spiced crust. Here’s a comprehensive guide to making these irresistible bars, ensuring you achieve the perfect balance of flavor and texture every time.
Ingredients
To begin, gather your ingredients. For the crust, you will need 1 1/2 cups of graham cracker crumbs, 1/4 cup of granulated sugar, 1/2 cup of melted unsalted butter, and 1 teaspoon of ground cinnamon.
The pumpkin cheesecake layer requires 16 ounces of softened cream cheese, 1 cup of granulated sugar, 1 cup of pumpkin puree (not pumpkin pie filling), 3 large eggs, 1 teaspoon of vanilla extract, 1 teaspoon of ground cinnamon, 1/2 teaspoon of ground nutmeg, 1/4 teaspoon of ground ginger, 1/4 teaspoon of ground cloves, and 1/4 teaspoon of salt.
Preparing the Crust
Start by preheating your oven to 350°F (175°C). Line a 9×13-inch baking pan with parchment paper, leaving some overhang on the sides to facilitate easy removal later. In a medium bowl, combine the graham cracker crumbs, sugar, melted butter, and cinnamon.
Mix these ingredients until the crumbs are evenly coated and resemble wet sand. Firmly press the mixture into the bottom of the prepared baking pan to form an even layer. You can use the bottom of a glass or measuring cup to help pack the crust tightly.
Bake the crust for about 8-10 minutes, until it is lightly browned and set. Once done, remove it from the oven and let it cool slightly while you prepare the filling.
Preparing the Pumpkin Cheesecake Filling
In a large mixing bowl, beat the softened cream cheese with an electric mixer on medium speed until smooth and creamy. Add the sugar and continue beating until well combined. Next, incorporate the pumpkin puree and mix until fully blended.
Add the eggs one at a time, beating well after each addition. Finally, stir in the vanilla extract, cinnamon, nutmeg, ginger, cloves, and salt until the mixture is smooth and evenly combined.
Assembling and Baking
Pour the pumpkin cheesecake filling over the pre-baked crust, spreading it out into an even layer. Bake in the preheated oven for 45-50 minutes, or until the center is set and a toothpick inserted into the middle comes out clean or with just a few moist crumbs.
Remove the bars from the oven and let them cool to room temperature in the pan. Once cooled, refrigerate the bars for at least 4 hours, or preferably overnight, to allow them to set fully.
Serving
When the bars are fully chilled and set, use the parchment paper overhang to lift them out of the pan. Place them on a cutting board and cut into squares or bars of your desired size. For an extra touch, you can garnish each bar with a dollop of whipped cream and a sprinkle of cinnamon or nutmeg.
Tips for Success
To ensure the best results, make sure the cream cheese and eggs are at room temperature before mixing. This helps to achieve a smoother filling without lumps.
Also, use pure pumpkin puree, not pumpkin pie filling, which contains added sugars and spices. Allow ample chilling time for the bars to set properly; this makes them easier to cut and enhances their flavor.
Variations
For a spicier crust, consider replacing the graham cracker crumbs with crushed gingersnap cookies. If you want to create a marbled effect, reserve some plain cheesecake filling and swirl it into the pumpkin mixture before baking. For added texture and flavor, you can also add chopped pecans or walnuts to the crust mixture.
Pumpkin Cheesecake Bars are a delightful dessert that combines the best elements of cheesecake and pumpkin pie. Whether you’re serving them at a holiday gathering, a family dinner, or just indulging in a sweet treat for yourself, these bars are sure to be a hit.
Enjoy the creamy, spiced goodness of Pumpkin Cheesecake Bars, and watch them become a favorite in your recipe collection!
